Deploy on MaixCam / MaixCam2
This document walks you through integrating Sipeed MaixCAM or MaixCAM2 AI cameras with PicoClaw.
MaixCAM and MaixCAM2 are hardware platforms designed for real-world AI vision, audio, and AIoT applications. They provide cost-effective, high-performance processors, along with cameras, displays, Wi-Fi, and an easy-to-use software ecosystem. By deploying PicoClaw on MaixCam or MaixCAM2, you can enable scenarios such as smart monitoring and edge inference.
Hardware
- MaixCAM
- MaixCAM-Pro
- MaixCAM2
Prerequisites
-
The firmware has been flashed to your MaixCam or MaixCAM2 device, and the device can boot and connect to the network.
-
You can access the device through MaixVision or SSH.
Deployment
Configure Network
- Configure networking: if your device is not connected yet, follow MaixPy network setup first.
- Get the device IP: go to Settings -> Device Info -> IP Address, or find it from the MaixVision device list on the same LAN.
Connect via SSH and Deploy PicoClaw
- Make sure your computer and MaixCam/MaixCam2 are on the same LAN.
- Use an SSH client to connect to the device IP. The default username/password is
root/root. - In the SSH session, run the commands below to download and start PicoClaw:
- MaixCam / MaixCAM-Pro
- MaixCam2
curl -L# -o picoclaw_Linux_riscv64.tar.gz \
https://github.com/sipeed/picoclaw/releases/latest/download/picoclaw_Linux_riscv64.tar.gz

mkdir -p /root/picoclaw
gzip -dc picoclaw_Linux_riscv64.tar.gz | tar -xvf - -C /root/picoclaw
cp /root/picoclaw/picoclaw* /usr/bin
rm -rf /root/picoclaw /root/picoclaw_Linux_riscv64.tar.gz

picoclaw-launcher-tui
curl -L# -o picoclaw_aarch64.deb \
https://github.com/sipeed/picoclaw/releases/latest/download/picoclaw_aarch64.deb

dpkg -i picoclaw_aarch64.deb
rm -rf picoclaw_aarch64.deb

picoclaw-launcher-tui
You can now use PicoClaw TUI in the terminal for configuration and management.
- To start PicoClaw Web UI, run:
picoclaw-launcher -no-browser -public
Then open http://<device-ip>:18800 in a browser on the same LAN.
Connect via MaixVision and Deploy PicoClaw
-
Connect to your MaixCam or MaixCam2 device in MaixVision.
-
In MaixVision, create a new Python file and paste the script content below:
Script:
install_picoclaw.py -
Click Run. PicoClaw will be downloaded and installed on the device, and the PicoClaw Web UI will start.
-
Open
http://<device-ip>:18800in a browser on the same LAN to access the PicoClaw Web UI.
Usage example
Below is a simple hands-on example showing how to use PicoClaw with MaixCAM for AI vision development:
-
Basic setup: First configure the model and chat channel in the Web UI or TUI. The example below uses
Discordand theglm-4.7model:- Channel configuration: see Discord configuration guide.
- Model configuration: see Model configuration guide.
-
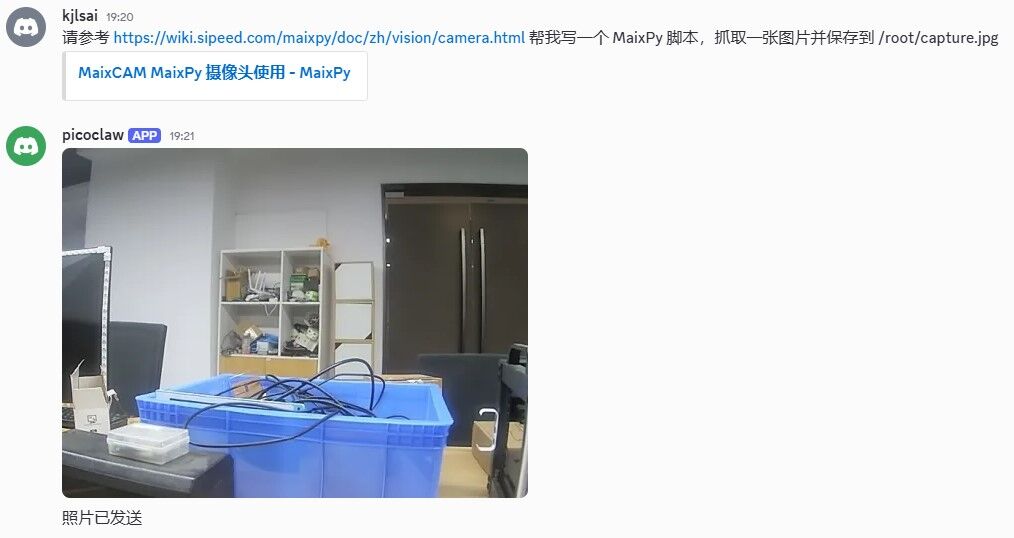
Generate capture script: In Discord, talk to PicoClaw and ask it to write and run a MaixPy capture script:
Refer to https://wiki.sipeed.com/maixpy/doc/zh/vision/camera.html Please write a MaixPy script that captures an image and saves it to /root/capture.jpg
-
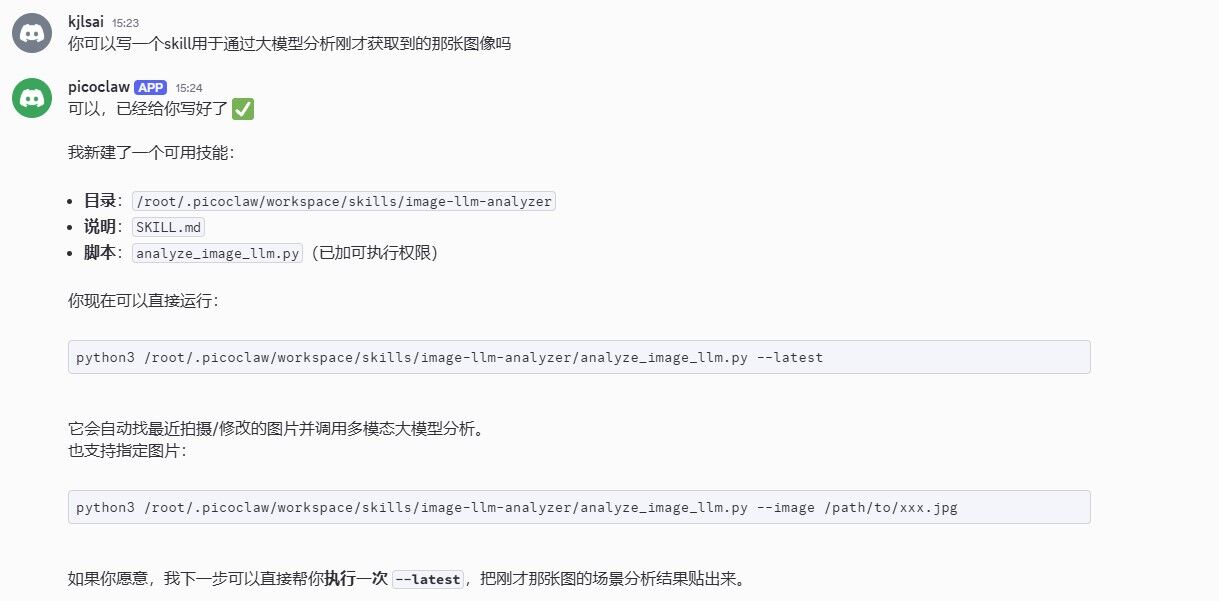
Generate an image-analysis Skill: Ask PicoClaw to automatically generate a Skill that analyzes the image just captured using a large model:
Can you write a skill that uses a large model to analyze the image we just captured?
-
Run image analysis: Invoke the skill you created to perform an in-depth analysis of the image:
Use the skill created earlier to analyze this image. You can use the
glm-4.6vmodel; the API_KEY can be found in.picoclaw/config.json.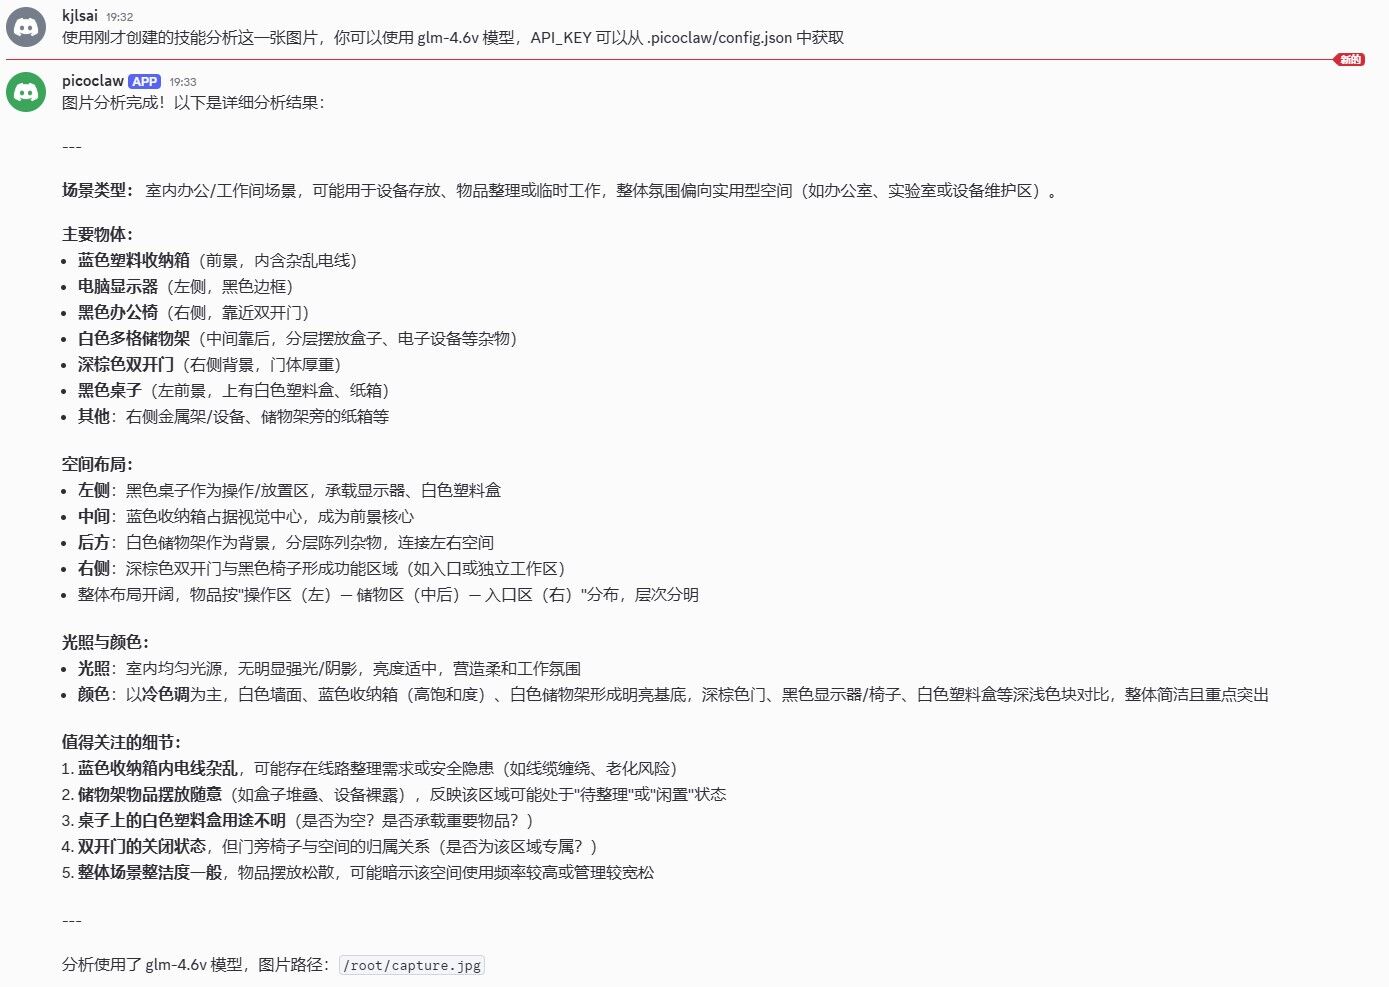
FAQ
- Large models may not complete complex tasks perfectly in a single turn. If you encounter errors or deviations, guide the model through additional conversational turns to correct them.
- This is a basic image-text workflow example. PicoClaw can do much more—customize models and automated workflows to fit your use case.
References
For more MaixCam hardware information and usage guides, see: